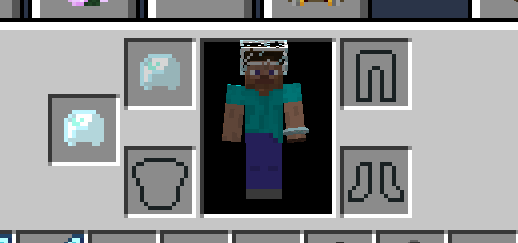
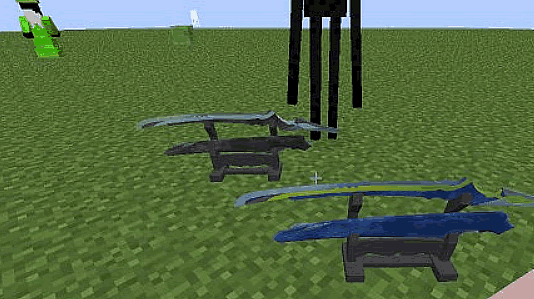
通过在display中放缩不同轴至0可以实现手持物在背包和各种人称视角显示不同材质。但是实际上,在背包中我们无需放缩,只需要将方块旋转到合适的角度即可覆盖背面材质。另一方面,头盔或者帽子的模型材质至少有5个面,若要实现背包显示材质不同只能为底部,此时通过旋转即可实现背包和头部显示不同材质/模型。

然而,如果我们将这个物品手持(已缩小y轴至0),我们会发现该物品的的顶部和底部材质重叠了。如要解决这个问题,我们可以编写两个不同的模型,通过CustomModelData来区分,然后在手部/头部时检测范围并修改CustomModelData。
注意我们无法使用各种原有的头盔,因修改CustomModelData只能修改其物品材质模型而不能修改其在头部的显示材质模型。这里我们使用雕刻过的南瓜。
资源包中:
resources/assets/minecraft/model/item/carved_pumpkin
| { "parent": "block/orientable", "textures": { "top": "block/pumpkin_top", "front": "block/carved_pumpkin", "side": "block/pumpkin_side" }, "overrides": [ { "predicate": { "custom_model_data": 12 }, "model": "craftingpp:decor/glass_helmet"}, { "predicate": { "custom_model_data": 112 }, "model": "craftingpp:decor/glass_helmet1"} ] } |
resources/assets/craftingpp/model/decor/glass_helmet
| { "parent": "block/block", "display": { "gui": { "rotation": [ -90, 0, 0 ] } }, "elements": [ { "from": [ 0, 0, 0 ], "to": [ 16, 16, 16 ], "faces": { "down": { "uv": [ 0, 0,16,16 ], "texture": "#down", "cullface": "down" }, "up": { "uv": [ 4, 0, 8, 4 ], "texture": "#hat" }, "north": { "uv": [ 4, 4, 8, 8 ], "texture": "#hat", "cullface": "north" }, "south": { "uv": [12, 4,16, 8 ], "texture": "#hat", "cullface": "south" }, "west": { "uv": [ 8, 4,12, 8 ], "texture": "#hat", "cullface": "west" }, "east": { "uv": [ 0, 4, 4, 8 ], "texture": "#hat", "cullface": "east" } } } ], "textures": { "hat": "craftingpp:decor/glass_helmet", "down": "craftingpp:decor/glass_helmet_down" } } |
resources/assets/craftingpp/model/decor/glass_helmet1
| { "parent": "item/generated", "textures": { "layer0": "craftingpp:decor/glass_helmet_down" } } |
然后我们画好
glass_helmet.png 
glass_helmet_down ![]()
接下来是数据包,这里只列出主要的几个指令
主函数
| execute as @a[nbt={Inventory:[{Slot:103b,id:"minecraft:carved_pumpkin"}]}] run function cpp:decor/hat execute as @a[nbt={SelectedItem:{id:"minecraft:carved_pumpkin"}}] run function cpp:decor/hat1 execute as @a[nbt={Inventory:[{Slot:-106b,id:"minecraft:carved_pumpkin"}]}] run function cpp:decor/hat2 |
cpp:decor/hat
| execute store result score #temp value run data get entity @s Inventory[{Slot:103b}].tag.CustomModelData execute if score #temp value matches 111..123 store result entity @s Inventory[{Slot:103b}].tag.CustomModelData int 1 run scoreboard players remove #temp value 100 |
cpp:decor/hat1
| execute store result score #temp value run data get entity @s SelectedItem.tag.CustomModelData execute if score #temp value matches 11..23 store result entity @s SelectedItem.tag.CustomModelData int 1 run scoreboard players add #temp value 100 |
cpp:decor/hat2
| execute store result score #temp value run data get entity @s Inventory[{Slot:-106b}].tag.CustomModelData execute if score #temp value matches 11..23 store result entity @s Inventory[{Slot:-106b}].tag.CustomModelData int 1 run scoreboard players add #temp value 100 |
这样,当南瓜进入头部时,将其CustomModelData 减少100,使用其对应的方块材质,而底部仍然为对应的物品材质。当进入手部时,将其CustomModelData 增加100,使用其对应的物品材质,以保证各个视角材质一致。
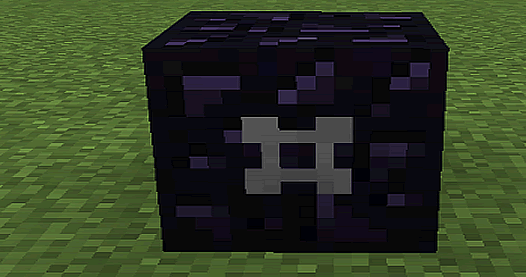
最后,从图中可以看出,旋转方块和直接使用物品材质有细微差别,亮度上有所差异。


